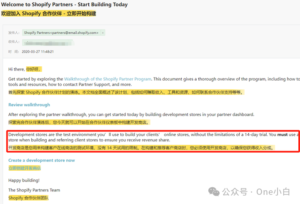
As a Shopify Partner, you can use Shopify’s full development store environment to create an unlimited number of development stores, or test as many apps or themes as you need.

Development stores can be used with tools like the Shopify CLI and Shopify GitHub integration so that you can preview, test, and share themes you’re building, but some development store features, such as developer previews and generated test data, make the store non-transferable to your customers. When you create a development store, you can choose to enable Shopify Developer preview, which gives you early access to new Shopify features and allows you to test features that will be available to users in the coming months but haven’t yet been launched, so that you can develop and test your app’s compatibility with these upcoming features, build new features, and adjust your business strategy before releasing them to merchants.


To create a Shopify development store, first go to your Shopify Partners dashboard. On the Stores page, click Add store.
Select Development store as the store type to create a new development store.
In the Login section, set your store name and password.
The store name is used to create your store’s myshopify.com URL, which cannot be changed.
By default, the email associated with your current Shopify Partner account will be used as the login email for your development store, but you can change it in store settings after the development store is created.


Then check Enable developer preview in the Developer preview section.
When you enable developer preview, you can select the preview that contains the new features you want to access from the drop-down list.
Then set the store address information and click Save.
Development stores with developer preview enabled include all the features available in the Advanced Shopify plan, but the store cannot be transferred to another owner or converted to a paid plan.
Click Create transfer disabled store to confirm the creation of a Shopify development store with developer preview enabled (not transferable).


Then the system will start to create your Shopify development store.
After successful creation, it will automatically jump to the backend of the Shopify development store.


Finally, all newly created Shopify development stores are now password protected, and you can only delete the password page after transferring the development store to your client or switching the store to a paid plan.
This is how to create a Shopify development store with developer preview enabled (non-transferable).
If You Have Any Questions And Anything Want To Know, Please Contact Our 1 To 1 Customer Service, Click Blow To Consult Now. Whatsapp:+86 133 8660 0057